How to install a DC block in a high - density circuit?
Leave a message
Installing a DC block in a high - density circuit can be a challenging yet rewarding task. As a supplier of DC blocks, I've witnessed firsthand the importance of a proper installation process in ensuring the optimal performance of electronic systems. In this blog, I'll guide you through the steps of installing a DC block in a high - density circuit, highlighting key considerations and best practices along the way.
Understanding DC Blocks
Before diving into the installation process, it's crucial to understand what a DC block is and why it's used in high - density circuits. A DC block, also known as a DC blocker or DC isolation capacitor, is a component that blocks direct current (DC) while allowing alternating current (AC) to pass through. In high - density circuits, where multiple components are packed closely together, DC blocks play a vital role in preventing DC offsets from interfering with the AC signals. This helps to maintain signal integrity, reduce noise, and improve the overall performance of the circuit.
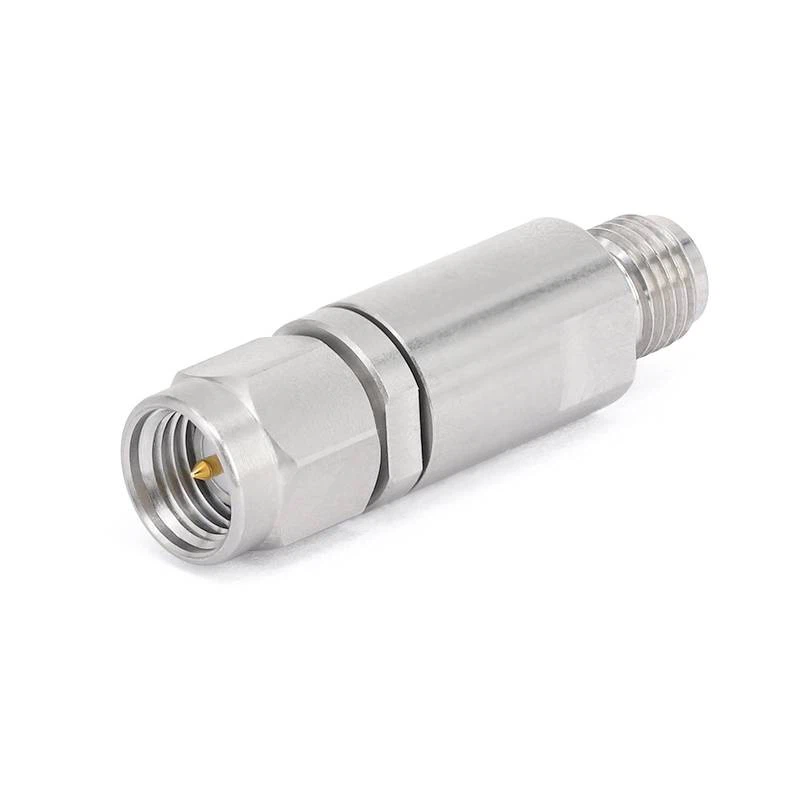
There are different types of DC blocks available, each with its own characteristics and applications. For example, Inner DC Blocks are specifically designed for use in internal circuit configurations, offering high - performance isolation in a compact form factor.
Pre - installation Preparations
Circuit Analysis
The first step in installing a DC block is to conduct a thorough analysis of the high - density circuit. This involves identifying the specific points in the circuit where DC blocking is required. Look for areas where DC offsets may be present or where AC signals need to be isolated from DC components. Consider factors such as signal frequency, amplitude, and impedance to determine the appropriate type and specifications of the DC block.
Component Selection
Based on the circuit analysis, select the right DC block for the job. Consider parameters such as capacitance value, voltage rating, and frequency response. The capacitance value determines the cut - off frequency of the DC block, which is the frequency at which the block begins to allow AC signals to pass. Make sure to choose a capacitance value that is suitable for the frequency range of the AC signals in your circuit. The voltage rating should be higher than the maximum DC voltage that the block will encounter to ensure safe operation.
Safety Precautions
Before starting the installation, take appropriate safety precautions. Ensure that the power to the circuit is turned off and that any capacitors in the circuit are discharged. Wear appropriate personal protective equipment, such as anti - static gloves and safety glasses, to prevent damage to the components and protect yourself from electrical hazards.

Installation Steps
Step 1: Circuit Disassembly
If necessary, disassemble the high - density circuit to access the area where the DC block will be installed. This may involve removing some components or opening up the circuit board. Be careful not to damage any other components during the disassembly process. Keep track of all the removed parts and their positions for easy reassembly later.
Step 2: Mounting the DC Block
Once you have access to the installation area, carefully mount the DC block on the circuit board. Use appropriate mounting techniques, such as soldering or surface - mount technology (SMT), depending on the type of DC block and the circuit board design. If soldering, make sure to use the correct soldering iron temperature and technique to ensure a good electrical connection. Avoid overheating the DC block or the surrounding components, as this can cause damage.
Step 3: Wiring Connections
Connect the DC block to the circuit using appropriate wiring. Pay attention to the polarity of the DC block, if applicable. In most cases, DC blocks are non - polarized, but some types may have specific polarity requirements. Connect the input and output terminals of the DC block to the appropriate points in the circuit, following the circuit diagram. Make sure the connections are secure and free from any loose wires or short circuits.
Step 4: Reassembly
After the DC block is installed and wired, reassemble the circuit. Put back all the components that were removed during the disassembly process in their correct positions. Double - check all the connections to ensure that everything is properly installed.
Post - installation Testing
Electrical Testing
Once the circuit is reassembled, turn on the power and perform electrical testing to verify the functionality of the DC block. Use a multimeter or an oscilloscope to measure the DC and AC signals at different points in the circuit. Check for any changes in the signal characteristics, such as amplitude, frequency, and phase. Make sure that the DC block is effectively blocking the DC component while allowing the AC signal to pass through without significant distortion.
Performance Evaluation
Evaluate the overall performance of the circuit with the installed DC block. Compare the performance before and after the installation to determine if the DC block has improved the signal integrity and reduced noise. Look for any signs of instability or malfunction in the circuit. If any issues are detected, troubleshoot the problem by checking the installation, wiring, and component selection.
Troubleshooting Common Issues
Signal Distortion
If you notice signal distortion after installing the DC block, it could be due to incorrect component selection or improper installation. Check the capacitance value and frequency response of the DC block to ensure that it is suitable for the circuit. Make sure that the soldering connections are good and that there are no short circuits or loose wires.
DC Leakage
DC leakage can occur if the DC block is damaged or if there is a problem with the installation. Check for any visible signs of damage to the DC block, such as cracks or burns. Make sure that the voltage rating of the DC block is sufficient for the circuit. If DC leakage persists, replace the DC block with a new one.
Conclusion
Installing a DC block in a high - density circuit requires careful planning, proper component selection, and precise installation techniques. By following the steps outlined in this blog, you can ensure a successful installation and improve the performance of your high - density circuit. As a DC block supplier, we are committed to providing high - quality products and technical support to help you with your installation needs.
If you are interested in purchasing DC blocks for your high - density circuits or have any questions about the installation process, please feel free to contact us for further discussion. Our team of experts is ready to assist you in finding the right solutions for your specific requirements.
References
- Smith, J. (2020). Electronic Circuit Design Handbook. Publisher XYZ.
- Jones, A. (2019). High - Density Circuit Analysis and Optimization. Journal of Electronic Engineering, 15(3), 45 - 56.


