

How to install Coax Connectors on a panel?
Leave a message

Hey there! As a supplier of Coax Connectors, I've seen firsthand how important it is to know how to install these little guys correctly. Whether you're a DIY enthusiast or a professional in the field, getting the installation right can make all the difference in the performance of your equipment. So, in this blog post, I'm gonna walk you through the steps of installing Coax Connectors on a panel.
Step 1: Gather Your Tools and Materials
First things first, you'll need to gather all the tools and materials you'll need for the job. Here's a list of what you'll typically need:
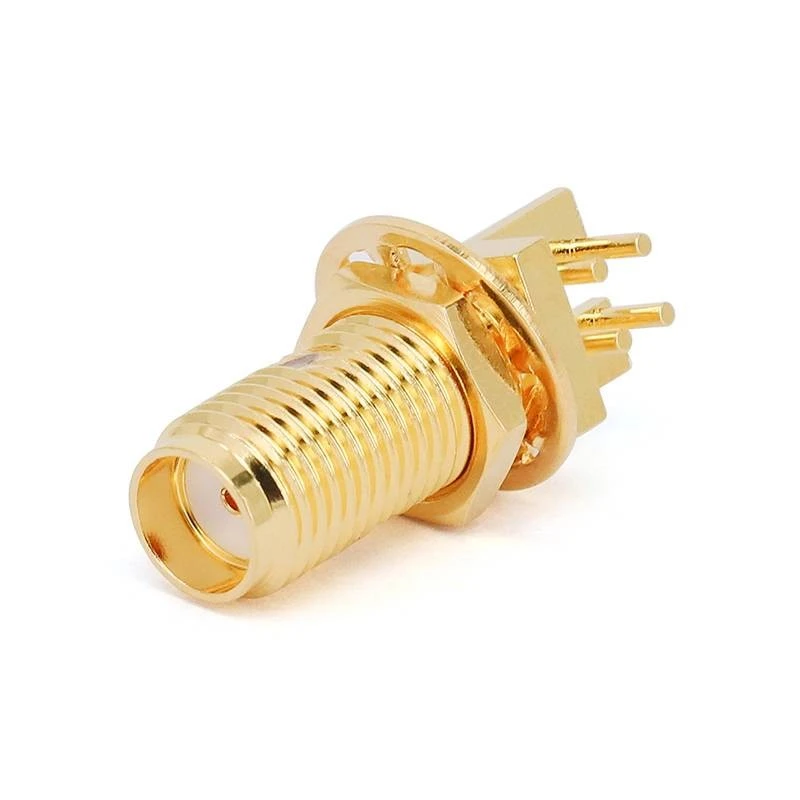
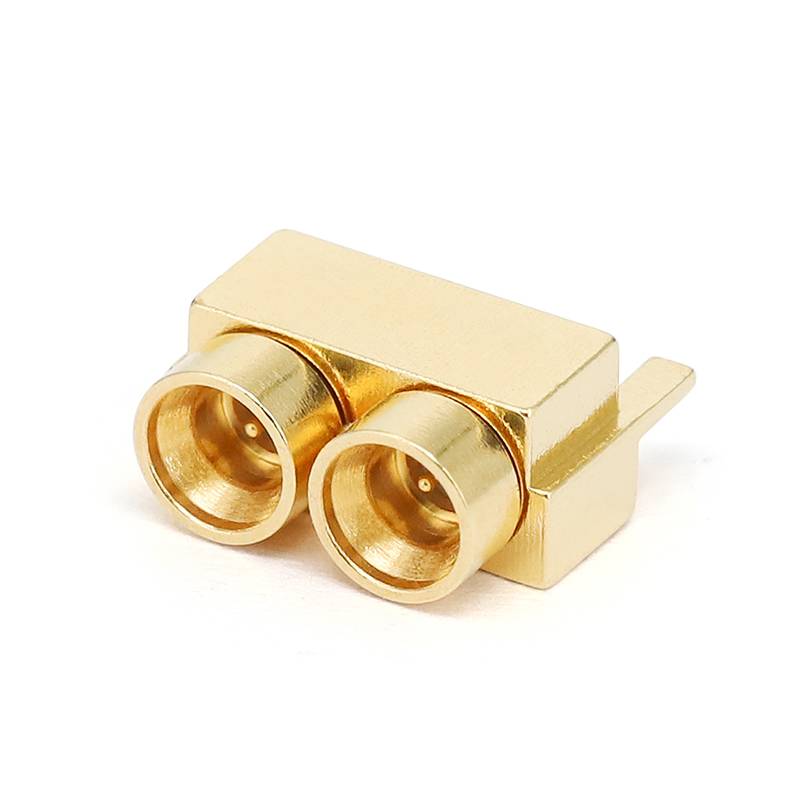
- Coax Connectors: Obviously, you'll need the right type of Coax Connectors for your project. We offer a wide range of Terminal Connectors, PCB Connectors, and Multi - coax Connectors to suit different applications.
- Coaxial Cable: Make sure you have the right length and type of coaxial cable for your setup.
- Panel: The panel where you'll be installing the connectors. It could be a metal or plastic panel, depending on your needs.
- Crimping Tool: This is used to attach the connectors to the coaxial cable.
- Drill and Drill Bits: If you need to create holes in the panel for the connectors.
- Screwdriver: For securing the connectors to the panel.
- Cable Strippers: To remove the outer insulation of the coaxial cable.
Step 2: Prepare the Coaxial Cable
Once you have all your tools and materials ready, it's time to prepare the coaxial cable. Here's how you do it:
- Measure and Cut: Measure the length of the coaxial cable you need and use a sharp knife or cable cutters to cut it to the appropriate length.
- Strip the Cable: Use the cable strippers to remove about 1 - 1.5 inches of the outer insulation from the end of the cable. Be careful not to damage the inner conductor or the shielding.
- Remove the Inner Insulation: After stripping the outer insulation, you'll see a layer of inner insulation around the inner conductor. Use the cable strippers or a sharp knife to remove about 0.25 - 0.5 inches of this inner insulation, exposing the inner conductor.
- Trim the Shielding: The shielding around the inner conductor should be trimmed back slightly to prevent it from interfering with the connector.
Step 3: Attach the Connector to the Cable
Now that the cable is prepared, it's time to attach the connector to the cable. Here's the process:
- Slide the Connector Onto the Cable: Take the connector and slide it onto the prepared end of the coaxial cable. Make sure the inner conductor of the cable fits snugly into the center pin of the connector.
- Crimp the Connector: Use the crimping tool to crimp the connector onto the cable. Apply even pressure to ensure a secure connection. You may need to refer to the instructions that came with your crimping tool for the correct crimping technique.
- Check the Connection: After crimping, give the connector a gentle tug to make sure it's firmly attached to the cable. You can also use a multimeter to check the continuity of the connection.
Step 4: Drill Holes in the Panel (if necessary)
If your panel doesn't already have holes for the connectors, you'll need to drill them. Here's how:
- Mark the Holes: Use a marker or a punch to mark the locations where you want to install the connectors on the panel. Make sure the holes are evenly spaced and aligned correctly.
- Drill the Holes: Use the appropriate drill bit to drill holes in the panel. The size of the drill bit should match the diameter of the connectors you're using. Be careful not to drill the holes too large, as this can cause the connectors to be loose.
Step 5: Install the Connectors on the Panel
Once the holes are drilled (if necessary), it's time to install the connectors on the panel. Here's what you do:
- Insert the Connectors: Take the connectors that are attached to the coaxial cables and insert them through the holes in the panel from the back side.
- Secure the Connectors: Use a screwdriver to tighten the nuts or screws on the front side of the panel to secure the connectors in place. Make sure the connectors are tightened firmly, but don't over - tighten them, as this can damage the panel or the connectors.
Step 6: Test the Installation
After installing the connectors on the panel, it's important to test the installation to make sure everything is working properly. Here's how you can do it:
- Connect the Equipment: Connect the other end of the coaxial cable to the appropriate equipment, such as a TV, radio, or antenna.
- Check for Signal: Turn on the equipment and check for a signal. If you're using a TV, look for a clear picture. If you're using a radio, listen for a strong signal.
- Inspect for Leaks: Use a signal strength meter or a spectrum analyzer to check for any signal leaks. If you detect a leak, you may need to re - check the connections and make sure they're properly sealed.
Step 7: Troubleshooting
If you encounter any problems during the installation or testing process, here are some common issues and how to fix them:
- Poor Signal: If you're getting a poor signal, check the connections between the cable and the connectors, as well as the connections between the cable and the equipment. Make sure the connectors are properly crimped and tightened.
- Signal Leaks: If you detect signal leaks, check for any loose or damaged connectors. You may need to re - crimp the connectors or use a sealant to prevent the leaks.
- Connector Not Fitting: If the connector doesn't fit properly into the hole in the panel, check the size of the hole and the connector. You may need to drill a larger hole or use a different size connector.
Conclusion
Installing Coax Connectors on a panel may seem like a daunting task at first, but with the right tools, materials, and a little bit of know - how, it can be a relatively straightforward process. By following the steps outlined in this blog post, you should be able to install Coax Connectors on a panel like a pro.
If you're in the market for high - quality Coax Connectors, we've got you covered. We offer a wide range of Terminal Connectors, PCB Connectors, and Multi - coax Connectors at competitive prices. Whether you're a small business or a large corporation, we can provide you with the connectors you need for your projects. So, if you're interested in purchasing our Coax Connectors, feel free to reach out to us for a quote and start a procurement discussion.
References
- "Coaxial Cable Installation Guide" - General industry guide on coaxial cable installation.
- "Crimping Tool Manual" - Instructions that come with the crimping tool.
- "Connector Manufacturer's Specifications" - Information provided by the connector manufacturers.


